Make a crochet maple leaf with this easy fall pattern. Great for garlands, table decor, gift wrapping, and seasonal handmade accents.
Crochet Maple Leaf Fall Pattern
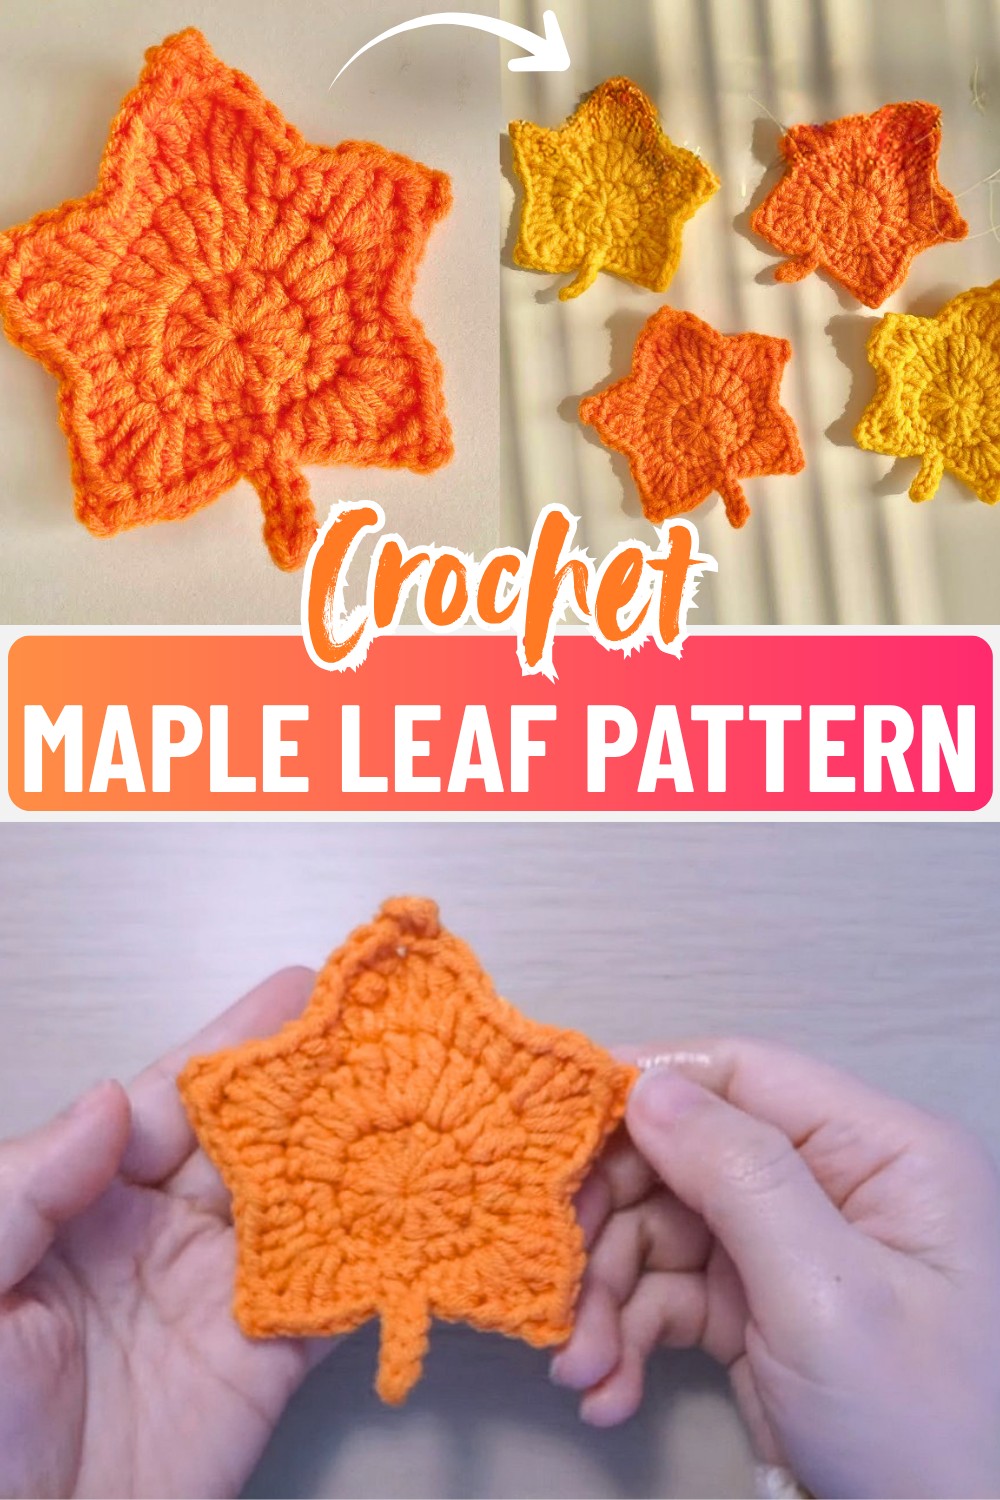
A crochet maple leaf is a creative way to add a touch of autumn charm to your handmade collection. Its pointed lobes, curved shape, and attached stem make it a great choice for fall garlands, table decorations, gift wrapping, and seasonal crafts. The pattern uses different crochet stitches to build the leaf shape step by step, creating a realistic look with simple techniques.
This pattern is designed for beginners and experienced crocheters who enjoy quick seasonal pieces. By changing stitch heights and adding carefully placed chain spaces, you can create the sharp leaf points and natural structure of a maple leaf. With a few rounds of crochet, a simple piece of yarn transforms into a detailed autumn accent ready for many creative uses.
Credit vvw.studio
Why You’ll Love This Pattern
- This maple leaf pattern uses simple crochet stitches to create a detailed fall decoration with a realistic leaf shape.
- The combination of single crochet, half-double crochet, double crochet, and treble crochet helps form the natural points and structure of a maple leaf.
- It is a quick seasonal project that lets you experiment with different autumn shades and create multiple handmade leaves.
- The finished leaves can be used for garlands, table decorations, gift wrapping, handmade cards, and other fall-inspired crafts.
Pattern Details
Skill Level:
- Beginner Friendly
Project Type:
- Fall Leaf Decoration
Pattern Style:
- Worked in Rounds
Stitches Used:
- Single Crochet, Half Double Crochet, Double Crochet, Treble Crochet, Slip Stitch
Uses:
- Garlands, Table Decor, Gift Wrapping, Seasonal Crafts
Materials & Tools Needed
- Yarn: Orange 5-ply yarn (or any autumn-themed color of your choice, medium weight).
- Hook Size: 3.75 mm crochet hook.
- Extras:
- Stitch marker
- Scissors
- Tapestry needle (for weaving in the ends)
Gauge
Not critical for this pattern; ensure your stitches are tight enough for the leaf to hold its shape.
Key Features
- Working in the Round: The leaf begins with a central magic ring for a flat base.
- Varied Stitch Heights: Uses single crochet (sc), half-double crochet (hdc), double crochet (dc), and treble crochet (tr) to form realistic and sharp maple leaf lobes.
- Picot-Like Shaping: Chains and slip stitches help define the crisp points of the leaf.
- Integrated Stem: The stem is seamlessly attached to the base for a neat finish.

Overview & Making Process
The maple leaf begins with a magic ring that creates a flat circular base, followed by different stitch combinations to build the leaf’s shape. Single crochet, half-double crochet, double crochet, and treble crochet are worked in different sections to form the wider areas and pointed lobes.
As the rounds continue, chain spaces and slip stitches help create the sharp maple leaf tips while keeping the shape defined. The pattern focuses on adjusting stitch heights and spacing to achieve five clear points that resemble a real autumn maple leaf.
The final step adds a small crochet stem directly to the leaf base for a neat finish. After securing the stem and weaving in the ends, the finished leaf can be used for garlands, appliques, table settings, or other fall-inspired handmade decorations.
Step-by-Step Instructions
Round 1: The Circular Base
- Create a magic ring.
- Chain 2 (this does not count as a stitch).
- Work 11 double crochets (dc) into the ring.
- Place a stitch marker in the first dc to mark the start of the round.
- Pull the yarn tail tightly to close the ring.
- Join the round with a slip stitch (sl st) into the first dc.
- Total stitches: 11.

Round 2: Building the Foundation
- Chain 1.
- Work the following sequence around the circle:
- 1 sc in the first stitch
- 2 sc in the second stitch
- 2 hdc in the third stitch
- 2 dc in each of the fourth AND fifth stitches (4 stitches total here).
- 3 tr in the sixth stitch
- 2 dc in each of the seventh AND eighth stitches (4 stitches total here).
- 2 hdc in the ninth stitch
- 2 sc in the tenth stitch
- 1 sc in the eleventh stitch.
- Join the round with a sl st into the first sc.
- Total stitches: 21.

Round 3: Shaping the Points
- Chain 1.
- Begin sculpting the lobes and points of the maple leaf:
- [1 sc in the first stitch]
- In the next stitch: [2 dc, ch 2, 1 sc in the back bar of the chain, 2 dc] – this creates the first pointed lobe.
- Continue working around the circle to form additional lobes:
- Use pairs of sc, hdc, dc, and tr combinations (adjusting stitch heights as you go) and add chain-2 points at intervals.
- Ensure you create 5 distinct points to mirror the shape of a maple leaf.
Round 4: Stem & Finishing Touches
- After completing the final point:
- Pull your working loop toward the back of the leaf at the center bottom.
- Chain 5 to form the stem.
- Turn and work back down the stem:
- Skip the first chain, sl st in each of the next 4 chains.
- Fasten off, leaving a longer end.
- Use your tapestry needle to secure the stem to the base of the leaf and weave in any excess yarn.

Troubleshooting & Suggestions
1. Curling Edges:
- If your leaf edges curl inward, your tension might be too tight or your hook size too small.
- Try switching to a hook size up (e.g., 4.0 mm) or blocking the finished piece by gently pinning it in shape and covering it with a damp cloth until dry.
2. Sharp Points:
- For crisp, well-defined points, ensure your chain-2 loops are pulled tight when creating the decorative lobe tips.
- Anchor with small stitches like slip stitches or single crochets for structure.
3. Creative Variations:
- Experiment with yarn colors like golden yellow, deep red, burgundy, or variegated autumn hues for a more dynamic look.
- Use multiple leaves to craft:
- A garland or fall banner.
- Appliques for scarves, hats, or blankets.
- Coasters for an autumn-themed table setting.


