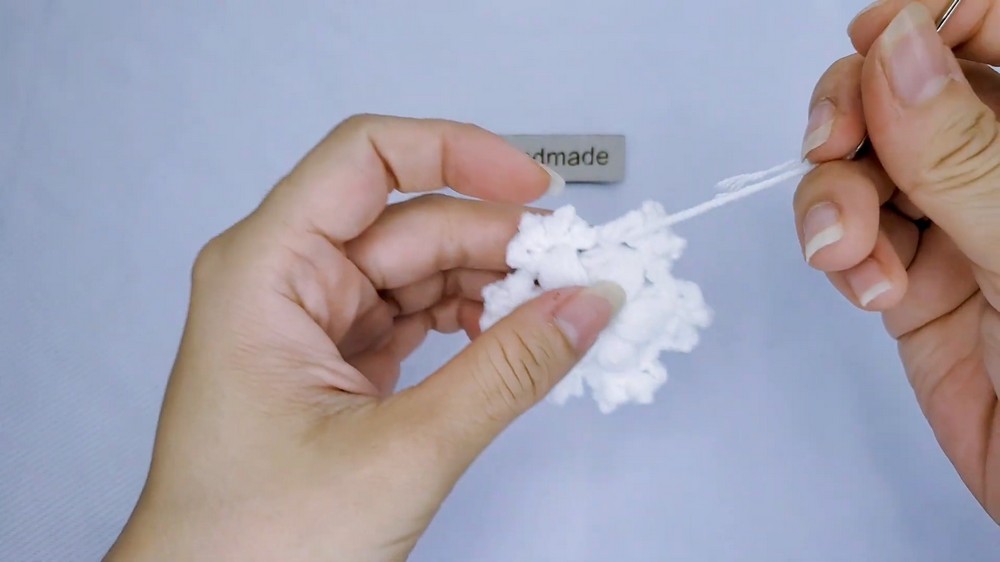
Looking for a quick Christmas crochet? This two-round snowflake uses one unusual center ring and six puff-stitch points to create intricate-looking holiday décor.

Delicate points and raised puff stitches give this crochet snowflake plenty of texture despite its short two-round pattern. Each point finishes with three tiny picot loops, creating an icy look that works beautifully in white, pale blue, or brighter holiday shades.
Instead of starting with a standard Magic Ring, this crochet pattern uses yarn wrapped around your finger 10 times to form a thick center ring. Once 14 sc build its core, Round 2 turns evenly spaced stitches into six puff-textured points. Keeping puff height consistent and giving each picot enough room will help the crochet snowflake spread evenly.
Materials & Tools Needed
- Yarn: Any yarn size and color. White, icy blue, and festive shades work especially well for Christmas decorations.
- Crochet Hook: Use a hook size appropriate for the chosen yarn weight.
- Tapestry/Yarn Needle: For weaving in ends.
- Scissors: For cutting yarn.
- Stitch Marker: Optional, for marking first stitch of Round 1.
Pattern Abbreviations & Terminology
- ch – Chain
- sc – Single Crochet
- sl st – Slip Stitch
- st(s) – Stitch(es)
- Puff Stitch (6-YO Puff) – Yarn over, insert hook into indicated stitch, pull up loop and stretch it slightly. Repeat 6 times in same stitch. Yarn over and pull through all loops on hook. Ch 1 to close puff.
Center Ring Foundation
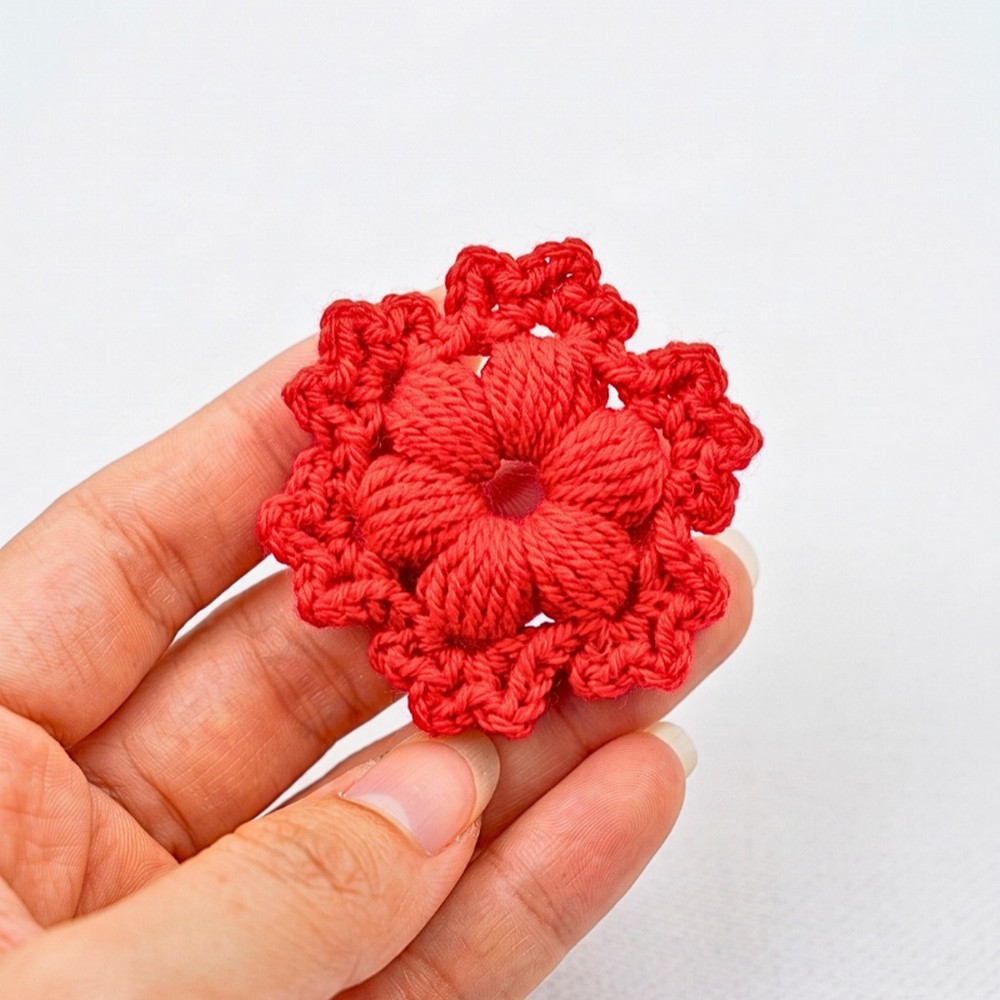
This snowflake starts with a thick yarn ring instead of a standard Magic Ring. Ten wraps create a sturdy center that gives the small motif a firm foundation.
Create Center Ring: Wrap yarn around index finger 10 times to create thick ring. Carefully slide loops from finger while keeping them together. Insert hook through center of ring, yarn over, and pull up loop. Ch 1 to secure the ring.
Keep wrapped loops from loosening while inserting hook. Working slowly here makes Round 1 much easier because all 14 sc need to sit inside the center opening.

Round 1: Center Core
Round 1: Work 14 sc directly into the center of the thick yarn ring. Optional: place stitch marker in first sc for easy counting. Once 14 sc are complete, sl st into first sc to close round. Stitch count: 14 sc.
Check count before beginning Round 2. Even spacing is useful here because six snowflake points will be distributed around this center.

Round 2: Six Snowflake Points
Round 2 creates a complete snowflake shape. Each point follows the same sequence: 6-YO Puff → three picots → ch 2 transition.
First Point: Pull loop on hook upward slightly for added height. Work 6-YO Puff into same stitch: yarn over, insert hook into stitch, pull up loop and stretch slightly; repeat this process 6 times in same stitch, then yarn over and pull through all loops on hook. Ch 1 to close puff.
First Point Tip: Ch 4, then sc into closing ch-1 of puff. Ch 4, then sc into same closing ch-1 again. Ch 4, then sc into same closing ch-1 once more. This creates 3 picots along the tip.
Transition: Ch 2 to move toward next point.
Keep first puff tall enough to stand out from center. If puff is pulled too tightly, point can look compressed; slightly lifted loops give texture and help each point spread outward.
Remaining Points: Skip 1 stitch, or space points evenly around the center, then work 6-YO Puff into next st. Ch 1 to close puff. Create three picots by repeating (ch 4, sc into closing ch-1) 3 times. Ch 2 to transition.
Repeat: Continue same sequence until 6 total snowflake points are complete.
As points accumulate, pause after every few repeats to check spacing around center. Six points should radiate outward evenly rather than bunching together on one side.
Join Round 2
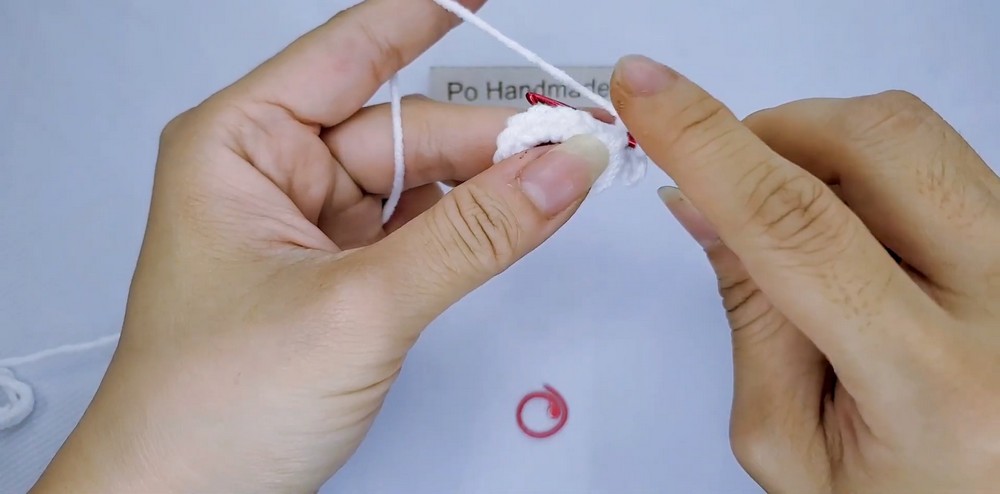
After completing the sixth point and final ch 2, sl st into the top closing ch-1 of the first puff stitch to join Round 2.
This joining point matters because it closes the snowflake without adding an extra stitch that could disturb six-point symmetry.
Finishing & Shaping
Fasten Off: After joining, cut yarn while leaving a modest tail. Pull tail through loop on hook to secure.
Weave in Tail: Thread tail onto tapestry needle. Weave it down the back side of the puff stitch, then continue through dense stitches around center ring so tail stays hidden and secure. Trim excess yarn.
Shape Snowflake: Gently stretch six points outward with fingers and flatten motif so it lies evenly. Adjust each three-picot tip individually if any loops have folded inward.
Make Points Crisp
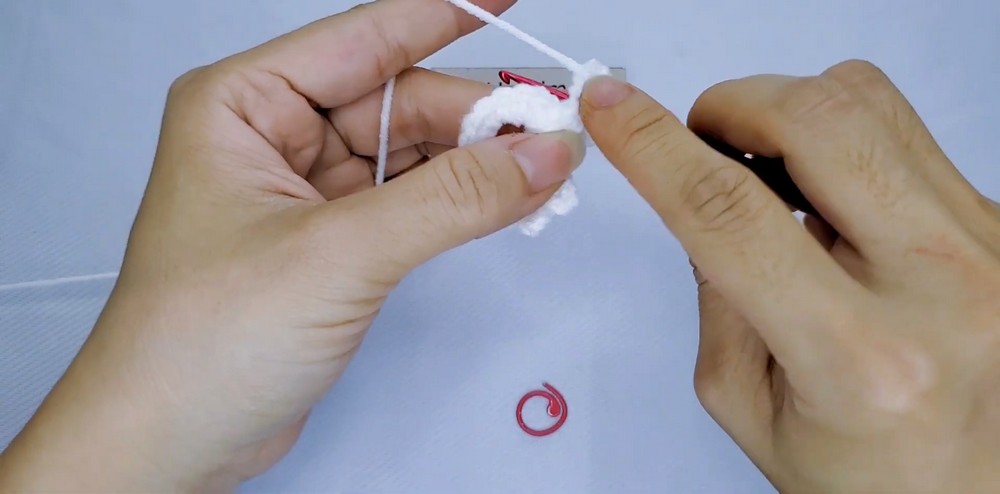
For soft snowflake décor, gentle finger shaping is enough. If you want rigid points that remain sharply defined, apply suitable fabric stiffener or diluted PVA glue after shaping. Pin each point in desired position while drying so the finished motif keeps its six-point outline.
Once fully dry, add a hanging loop through one point for tree decoration, garland, or gift-wrap topper.