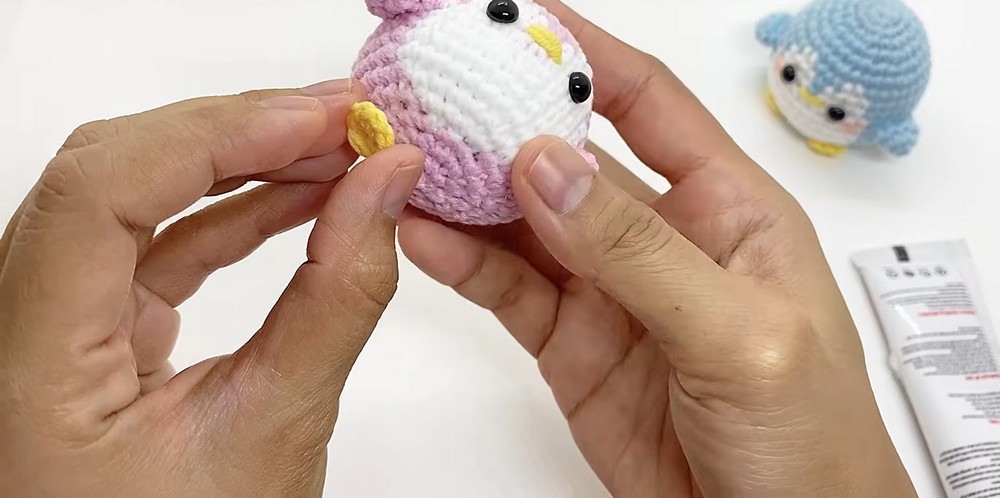
Those tiny rosy cheeks make this crochet penguin even cuter, while simple color changes create its white face, round belly, yellow feet, and playful wings.
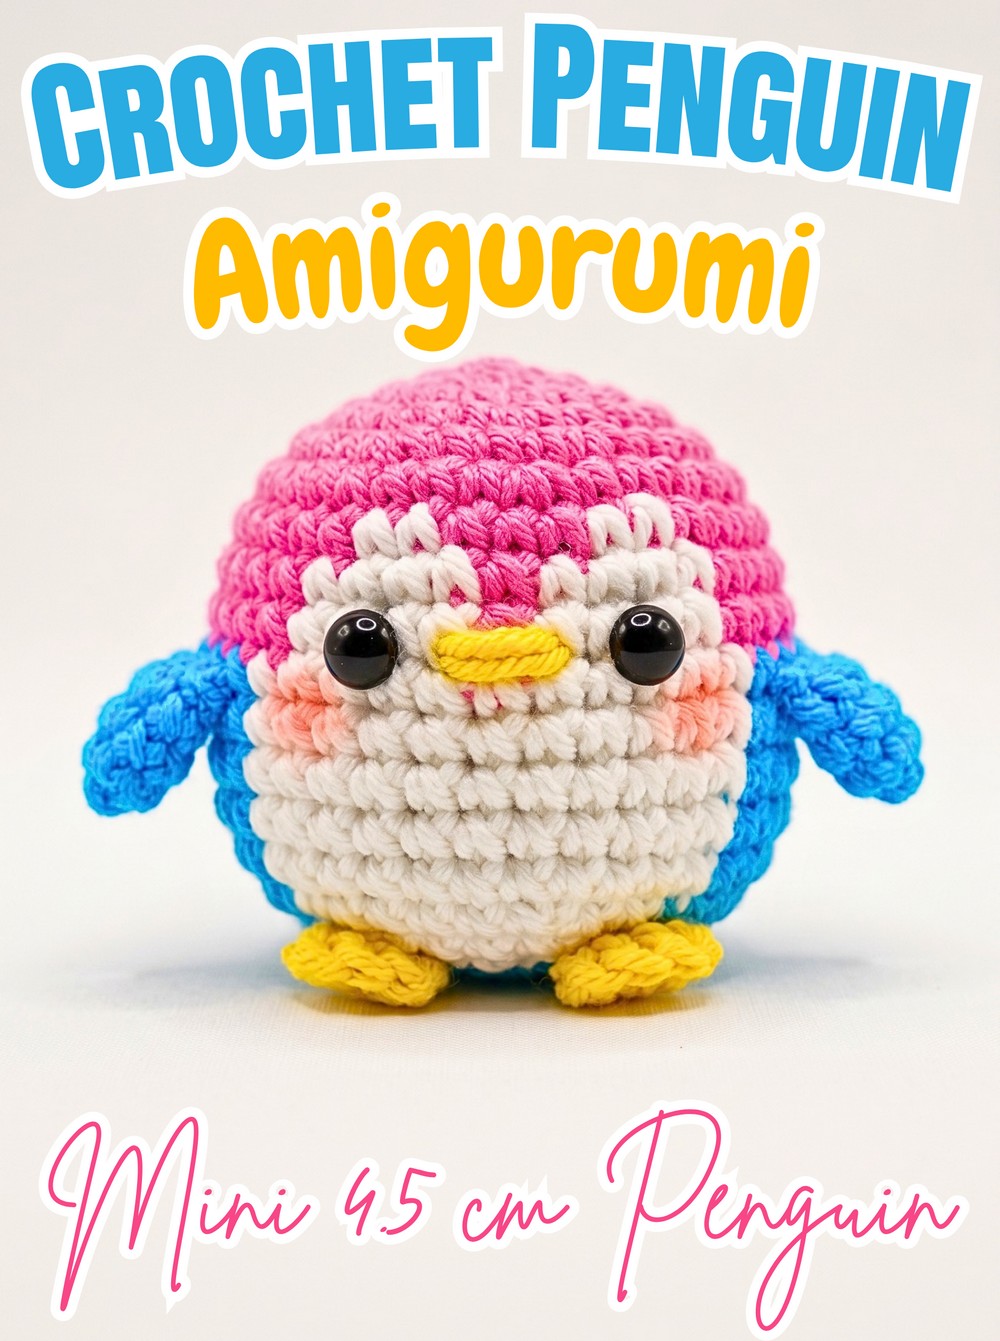
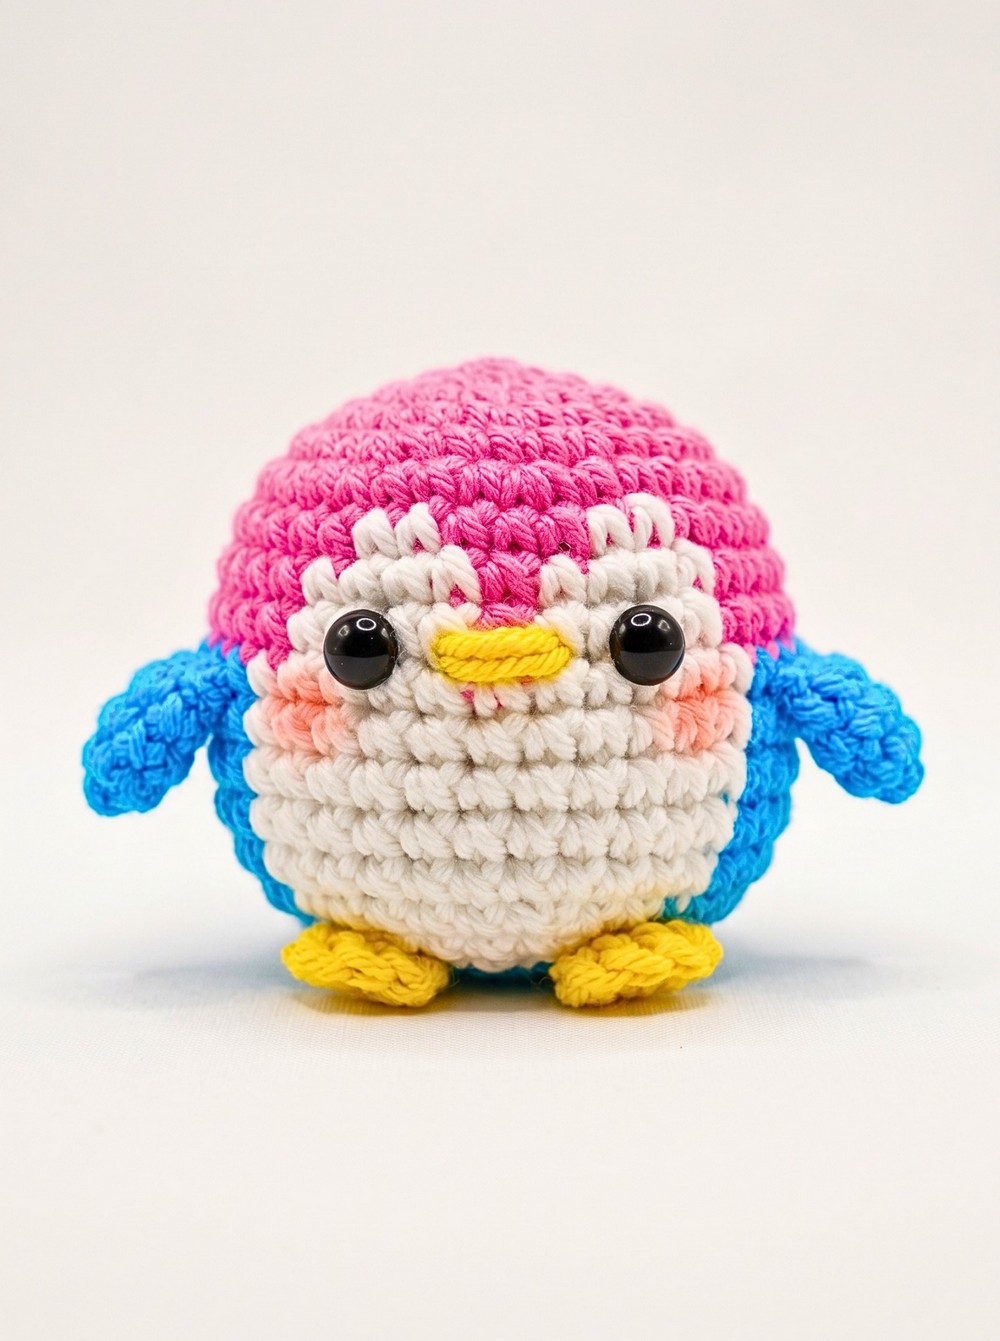
With its round body, contrasting face and belly, and tiny yellow feet, this crochet penguin has all the details of a classic little amigurumi without requiring a complicated shape. At only about 4.5 cm tall, it is small enough to become a festive crochet ornament, bag charm, or miniature shelf friend.
For this crochet pattern, the body is worked in a continuous spiral while pink and white yarn are changed across specific rounds to create the penguin markings. Once the body is shaped and stuffed, the wings, feet, eyes, beak, and rosy cheeks bring the character together, with clear placement points to help keep the face balanced.
Credit HoneyCookie Crochet
Materials & Tools
- 4-ply cotton milk yarn, approximately 2.5 mm thick
- Main Color: Pink, or another body color such as blue or grey
- Contrast Color: White for the face and belly
- Accent Color: Yellow for the mouth and feet
- 2.0 mm crochet hook
- 6.0 mm safety eyes
- Fiberfill or toy stuffing
- Blunt tapestry needle
- Scissors
- Stitch markers
- Craft glue for attaching the feet
- Small amount of pink blush and a makeup brush or cotton swab
Finished Size & Customization
Using the recommended yarn and 2.0 mm hook, the finished penguin measures approximately 4.5 cm (1.8 inches) tall.
Pink gives the penguin a playful appearance, while baby blue, mint green, or soft grey can be used to create a small penguin family. For a winter display, add a tiny crochet scarf or mini beanie.
You can also turn the finished penguin into a bag charm by attaching a jump ring and keychain clip through the magic ring at the top of the head.
Abbreviations
- R: Round
- mr: Magic ring
- sc: Single crochet
- inc: Increase – 2 sc in the same stitch
- dec: Decrease – single crochet 2 stitches together
- sl: Slip stitch
- st(s): Stitch(es)
- (…) × N: Repeat the instructions inside the brackets N times
- [ ]: Total number of stitches at the end of the round
Crochet the Penguin Body
Begin with the Main Color and work the body in a continuous spiral. Use a stitch marker to identify the beginning of your rounds, especially once the colorwork begins.
R1: Work 6 sc in MR (6 sts).
R2: Work 6 inc (12 sts).
R3: Work (sc, inc) ×6 (18 sts).
R4: Work (sc, inc, sc) ×6 (24 sts).
R5: Work (3 sc, inc) ×6 (30 sts).
R6: Work (2 sc, inc, 2 sc) ×6 (36 sts).
Add the White Face and Belly
Rounds 7–16 introduce the white sections that create the penguin’s face and belly. Whenever [White] appears, use white yarn for those stitches; all other stitches remain in the Main Color.
Keep the color changes in the stated positions. Because the body is worked in a spiral, stitch placement matters—the white sections gradually widen and then narrow with the body.
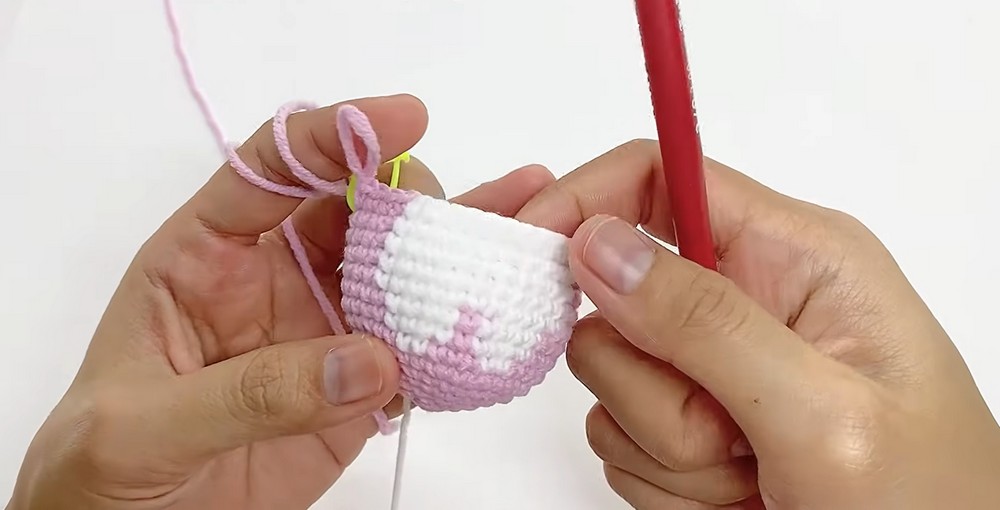
R7: Work 23 sc, [White] 2 sc, [Pink] 3 sc, [White] 2 sc, [Pink] 6 sc (36 sts).
R8–R9: Work 22 sc, [White] 4 sc, [Pink] 1 sc, [White] 4 sc, [Pink] 5 sc (36 sts) for 2 rounds.
R10-R14: Work 21 sc, [White] 11 sc, [Pink] 4 sc (36 sts) for 5 rounds.
As you reach the middle of the body, the white section becomes much wider. This is what gives the penguin its visible face-and-belly panel, so check that the color sections are sitting where you expect before continuing.
R15: Work (4 sc, dec) ×3, [White] 4 sc, dec, 4 sc, dec, 1 sc, [Pink] 3 sc, dec (30 sts).
R16: Work (3 sc, dec) ×4, [White] 3 sc, dec, [Pink] 3 sc, dec (24 sts).
Cut the white yarn after Round 16 and continue with only the Main Color for the remainder of the body.
Shape and Stuff the Body
The decreases now begin closing the lower portion of the penguin. Add the stuffing at the point specified below so it reaches the rounded body evenly.
R17: Work (sc, dec, sc) ×6 (18 sts).
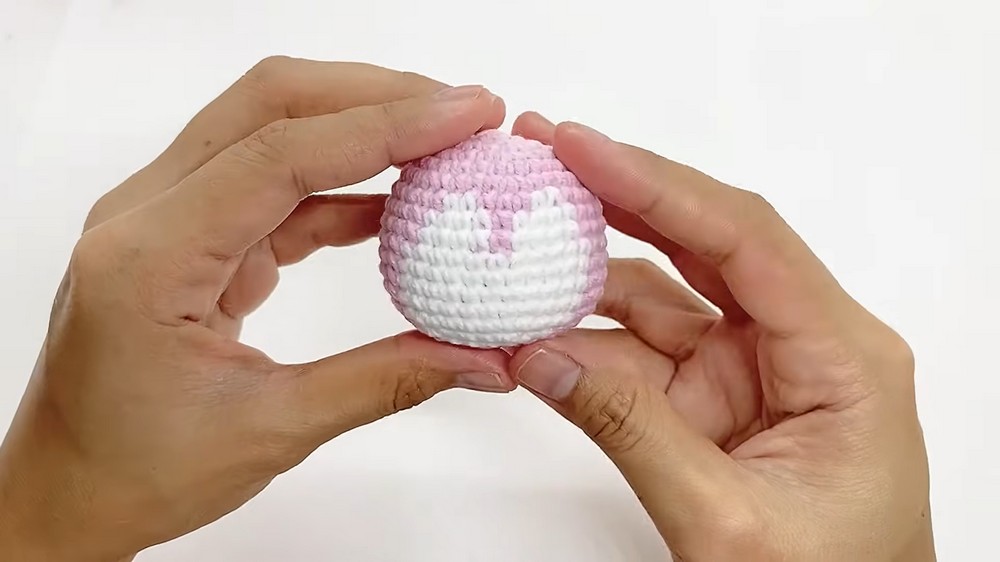
Stuffing: Firmly fill the body with fiberfill. Push the stuffing evenly into the sides and lower portion so the penguin remains rounded rather than becoming flat.
R18: Work (sc, dec) ×6 (12 sts).
R19: Work 6 dec (6 sts).
Finish: Fasten off, then weave the yarn tail through the front loops of the remaining 6 stitches. Pull tightly to close the opening and hide the yarn tail inside the stuffed body.
Crochet the Wings
Make 2 wings using the Main Color. These small pieces are intentionally left unstuffed so they can be flattened against the body.
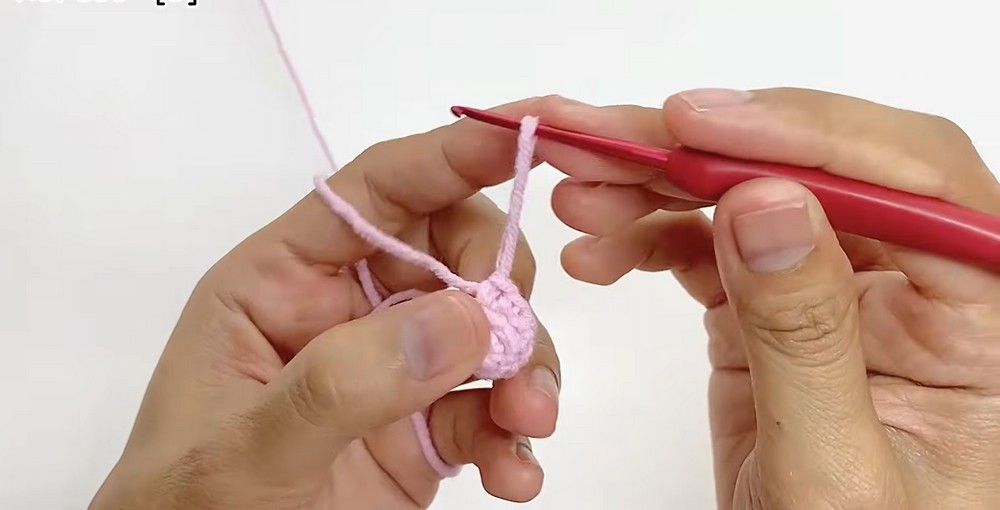
R1: Work 4 sc in mr (4 sts).
R2: Work 4 inc (8 sts).
R3: Work 8 sc (8 sts).
Finish: Fasten off, leaving a long tail for sewing. Do not stuff the wing; pinch it flat and keep the sewing tail available for attaching it to the body.
Crochet the Feet
Make 2 feet using the Accent Color.
R1: Work 8 sc in MR (8 sts).
R2: Work 1 sl st into the first stitch to join the circle.
Finish: Fasten off and leave a short tail. The feet will be attached with craft glue, so the tail can be hidden inside the body rather than used for sewing.
Assemble the Penguin
Position the facial details before you permanently attach the wings and feet. Use the rounds as your placement guide rather than judging the position only by eye.
Embroider the Mouth
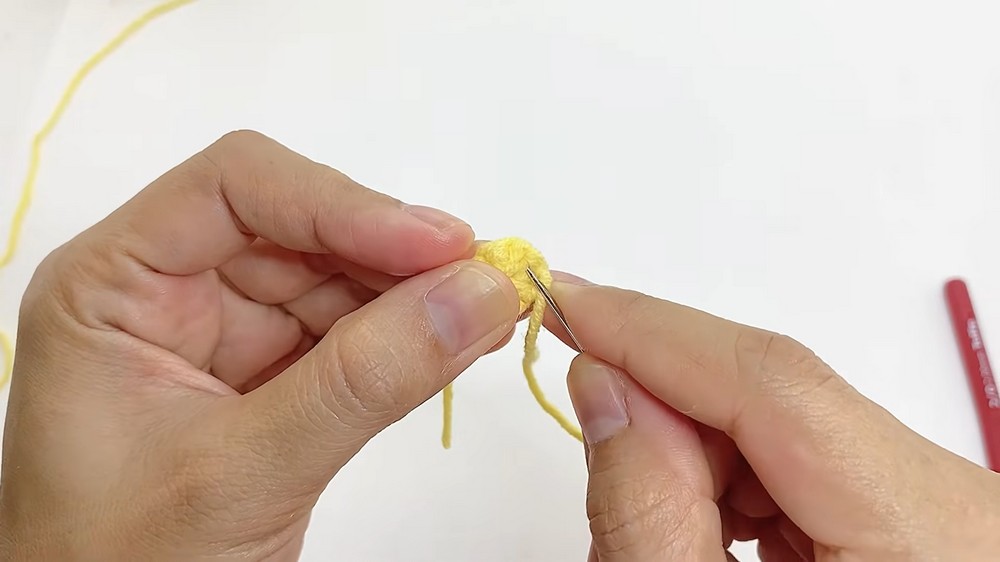
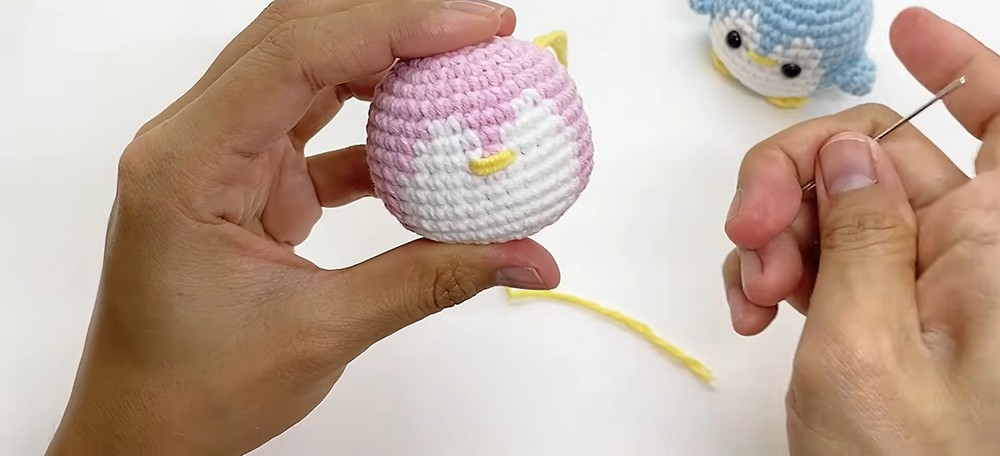
Thread a long strand of Yellow yarn onto the blunt tapestry needle. Embroider a small horizontal mouth or beak between Rounds 9 and 10, making it exactly 3 stitches wide.
Keep this line centered on the white face area so the eyes can be positioned evenly on either side.
Add the Safety Eyes
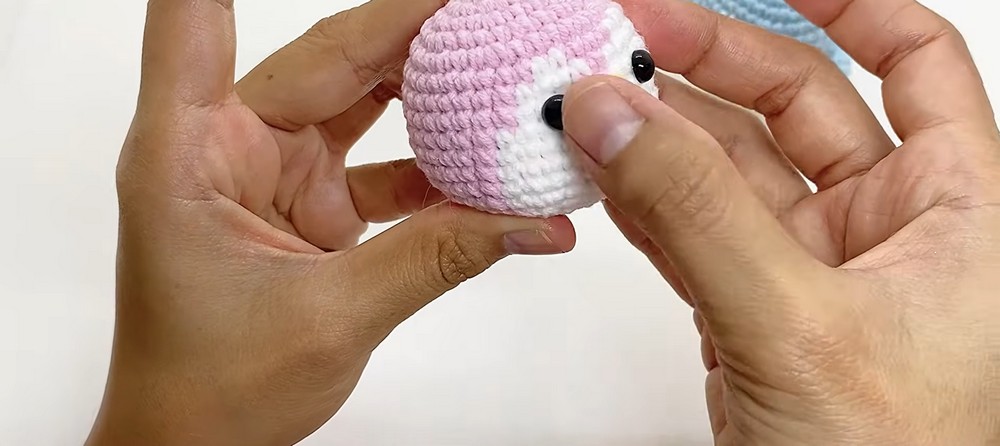
Insert the 6.0 mm safety eyes between Rounds 9 and 10.
Space the eyes 5 stitches apart, with each eye positioned 1 stitch away from the embroidered mouth on either side. Secure the safety-eye backings firmly inside the body.
Before pressing the backings completely into place, look at the face from the front to make sure both eyes sit at the same height.
Sew on the Wings
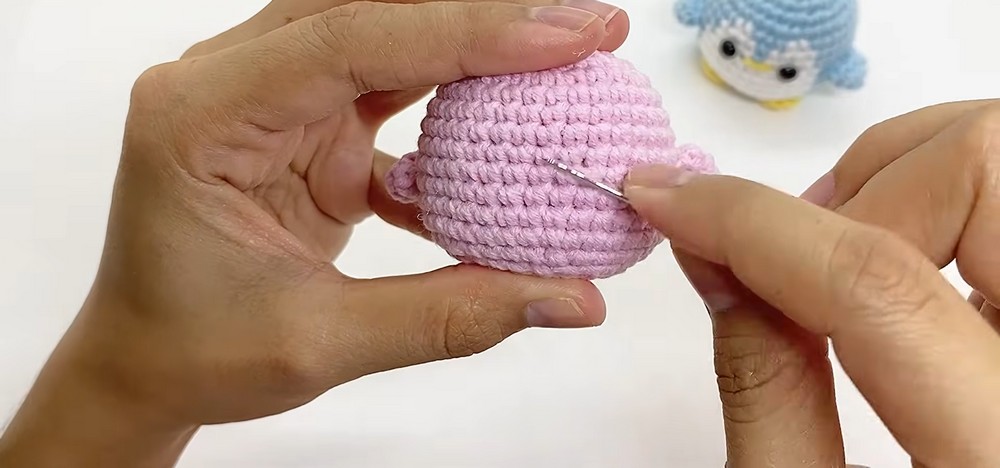
Thread the long pink tail from one wing onto your needle. Sew the wing flat against the side of the body between Rounds 10 and 11.
Position each wing approximately 3 stitches away from the outer edge of the eyes. Repeat with the second wing, checking that both sides are at a similar height.
Attach the Feet
Apply a small dab of craft glue to the back of each yellow foot.
Place the feet along the bottom front of the penguin across Rounds 15–17, spacing them approximately 3 stitches apart. Hold each foot in place briefly while the glue sets.
Add Rosy Cheeks
Use a makeup brush or cotton swab to apply a very small amount of pink blush just below and slightly outside each eye.
Build the color gradually. A light touch is enough to give the tiny face a rosy expression without covering the white yarn.
Optional Winter and Keychain Details
For a seasonal version, add a tiny crochet scarf or mini beanie in a coordinating color. These small accessories can change the look without altering the penguin pattern itself.
To make a bag charm, attach a jump ring and keychain clip through the magic ring at the top of the head. Make sure the hardware is securely closed before carrying the penguin.